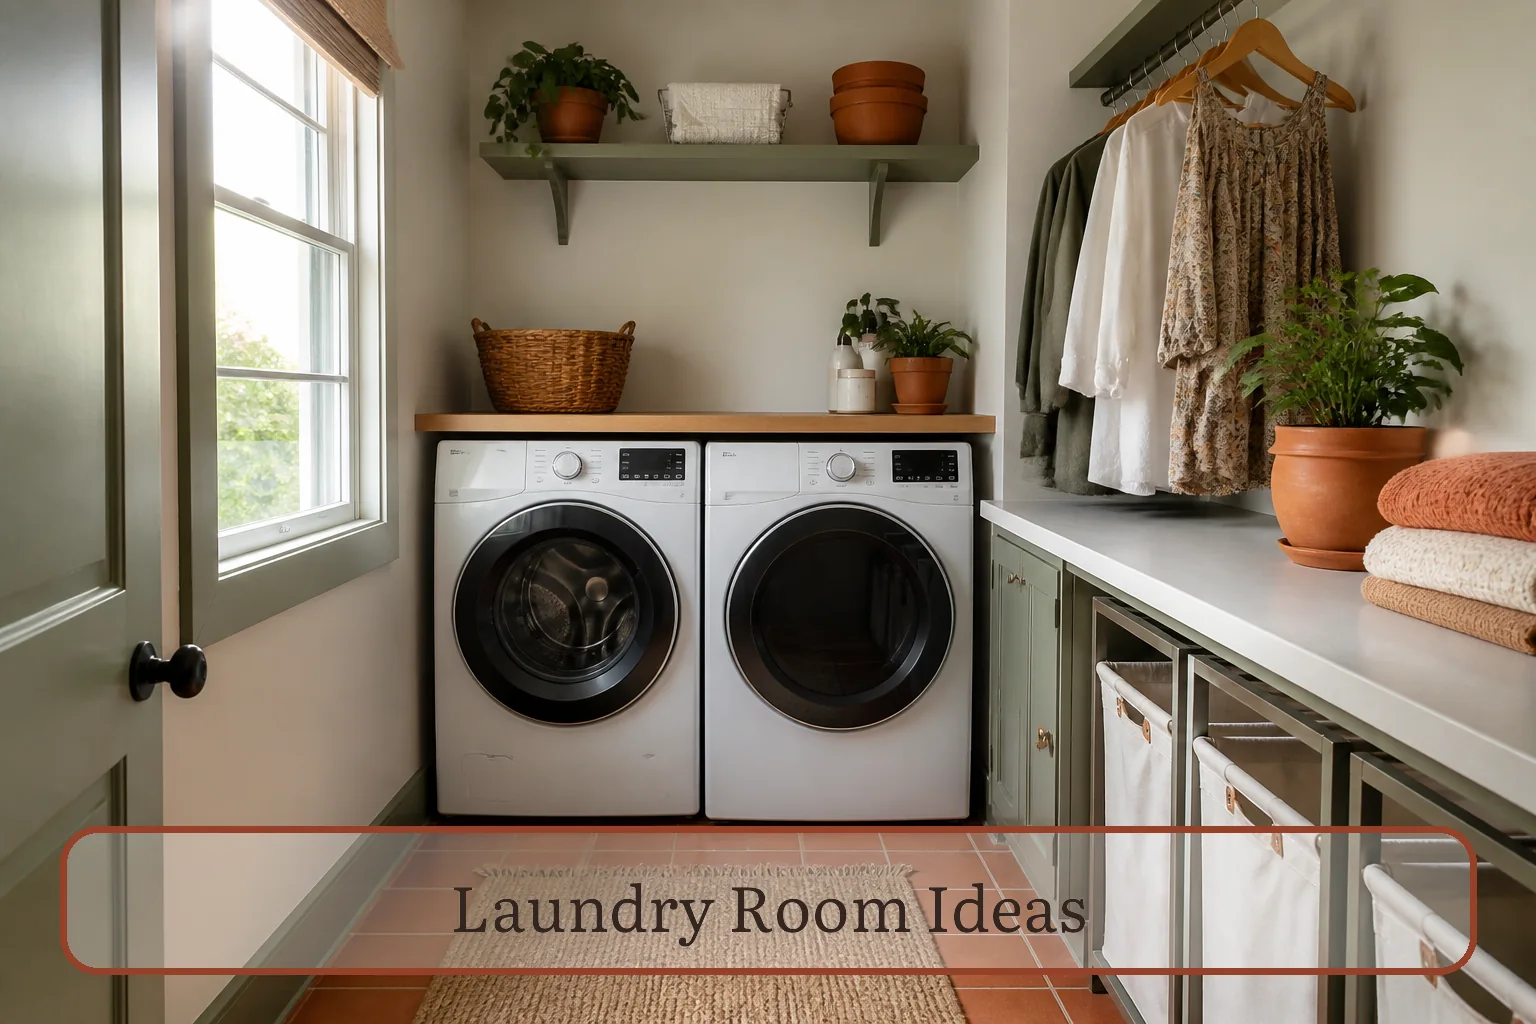
Draw the appliance access envelope first
Use the installation guides for the exact washer and dryer. Record the appliance dimensions, required side and rear clearances, door or lid swing, pedestal height, hose and cord routing, drain location, dryer-vent route, and the space needed to remove or service each machine. These are fixed access envelopes. Storage must fit outside them.
Open both appliance doors, pull out the detergent drawer, remove the lint screen, and stand where a basket will be held. A shelf that looks clear when the machines are closed may block an open lid, a control panel, or the lint-filter path. Do not bridge appliances with a countertop unless the appliance and counter manufacturers or a qualified installer approve the support, clearances, vibration allowance, and service access.
The one-load workflow map
| Stage | Minimum useful zone | Capacity limit | Access that must remain clear |
|---|---|---|---|
| Dirty arrival | One sorter or the basket used to bring the next load | The room holds only the load being processed; household backlog stays in bedroom hampers | Walking route and appliance doors |
| Stain treatment | A washable tray for the one product and tool used now | No decanted mystery bottles; original labels stay with products | Sink, faucet, or work surface without covering controls |
| Machine transfer | Clear floor and hand path between washer, dryer, and basket | No permanent bin parking | Doors, lid, controls, drain, hoses, outlets, gas shutoff, and vent |
| Dry or hang | Dryer, approved drying rack, or hanging rail rated for wet items | One load, with air space appropriate to the room | Ventilation and heat sources |
| Fold and exit | One clean surface or the top of a movable basket | One finished load leaves before the next is folded | No clean pile on the machines or floor |
Measure before choosing a layout idea
- Record the fixed utility points. Photograph and measure the water valves, standpipe or drain, receptacles, gas connection if present, and vent outlet. Do not conceal them behind fixed storage that prevents inspection or shutoff.
- Trace every moving part. Mark washer lid swing, front doors, drawers, lint-screen removal, collapsible drying rack, cabinet doors, and the path used to carry a basket.
- Protect the service route. Check how each appliance can be pulled forward and disconnected by a qualified person. A narrow trim piece or wall-to-wall shelf can turn ordinary service into demolition.
- Run one ordinary load on paper. Write where the basket waits at each stage and where an item needing air-drying goes. Eliminate crossing routes and floor parking before buying containers.
- Assign point-of-use supplies. Keep only the detergent, stain product, mesh bag, and laundry tool currently used. Backstock belongs in a dry secure cabinet that does not compete with the load path.
- Choose one folding solution. Use a properly supported fixed counter, a wall-mounted drop surface installed for its rated load, or a clean basket that travels out. A tiny room does not need a permanent counter if the finished load already leaves immediately.
- Test with doors open. Load, transfer, clean the lint filter, reach the shutoff, and leave with a basket. Any collision means the drawing—not the household—needs revision.
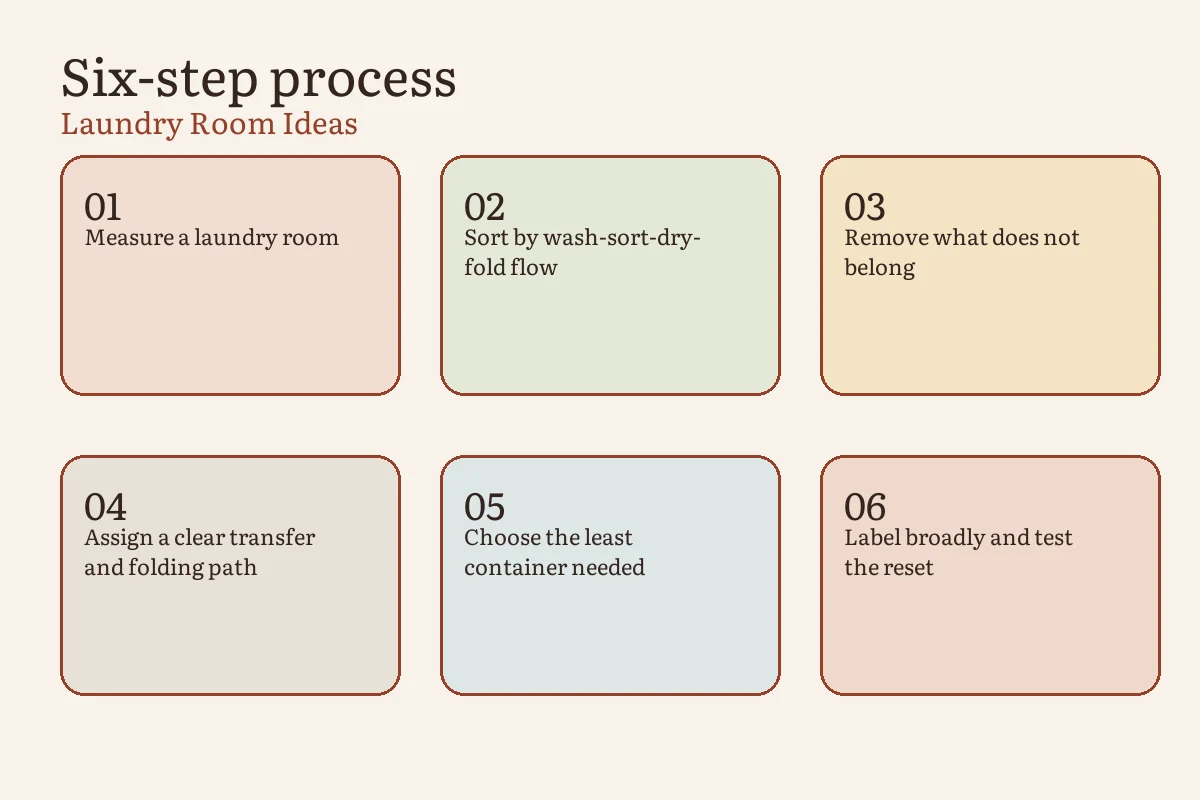
Select an idea that fits the room type
| Room condition | Useful layout move | Verification before installation | Common failure |
|---|---|---|---|
| Laundry closet with front loaders | Shallow upper storage plus a removable or approved counter | Doors, detergent drawer, valves, vent, and appliance removal remain accessible | Deep shelves force the user to lean over hot or moving equipment |
| Top-loading washer | Side wall storage or a shelf mounted above the fully open lid envelope | Lid opens completely and the user can reach the drum safely | A low shelf blocks loading and cleaning |
| Narrow galley utility room | One-wall storage and a fold-down surface on the clear side | Open surface does not block the path or an appliance door | Storage on both walls makes basket movement impossible |
| Stacked laundry center | Slim side cart only where installation clearance permits | Controls, filter, hookups, vibration space, and service route remain open | Cart blocks the unit from being moved for maintenance |
| Laundry corner in a kitchen or bath | Closed supply cabinet plus a basket that exits after each load | Ventilation, plumbing access, and room-use boundaries remain intact | Clean and dirty laundry becomes permanent room clutter |
| No room for folding | Fold at a nearby table and return with the empty basket | There is a reliable destination for every finished load | Machine tops become an unmanaged holding area |
Make dryer access a non-negotiable part of the design
The U.S. Fire Administration says failure to clean is a leading factor in home clothes-dryer fires. Its guidance calls for cleaning the lint filter before and after each cycle, keeping the area around the dryer free of things that can burn, and checking that venting is not damaged, crushed, or restricted. The outdoor vent covering should open when the dryer operates.
Do not use the narrow gap behind a dryer as hidden shelf space. Do not route the appliance cord through an extension cord or pinch it behind a cart. USFA advises plugging major appliances directly into a wall outlet. Changes to a gas connection, electrical circuit, vent route, or appliance installation belong with the qualified trade and the manufacturer’s instructions.
Store detergent for the household you have
Keep detergent, laundry packets, boosters, bleach, and stain removers in their original labeled containers with closures secured. Do not pour them into decorative beverage-style jars. CPSC specifically recommends keeping liquid laundry packets sealed in their original packaging, locked up, and out of a child’s sight and reach. An upper shelf is useful only if children cannot climb to it and the adult can retrieve the product without dropping it.
Use a shallow washable tray to contain an ordinary drip, but treat corrosion, swelling, damaged packaging, or a substantial chemical spill as a product-specific cleanup problem. Never mix laundry chemicals. If exposure occurs, follow the product label and contact the relevant poison center or emergency service.
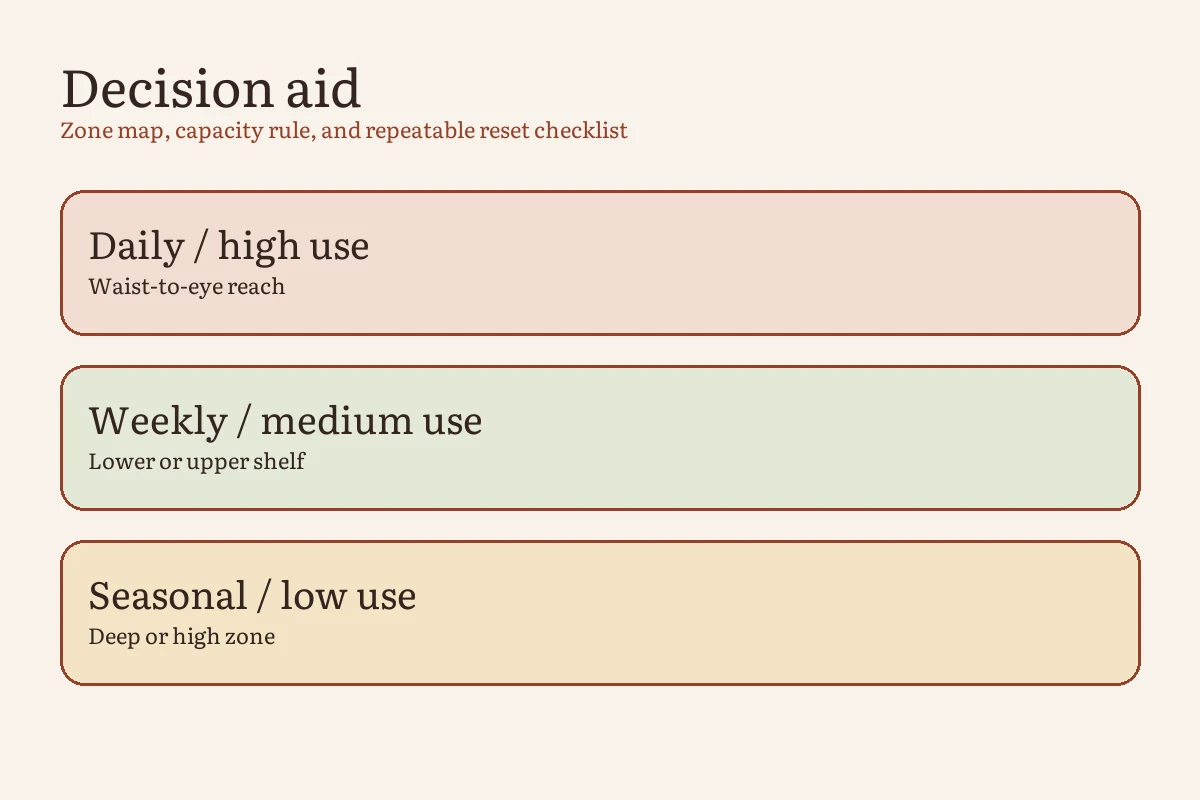
The load-complete reset
- Move the folded or hanging load to its room; leave no finished pile on an appliance.
- Return detergent and treatment products to closed, secure original containers.
- Clean the dryer’s lint filter according to the manufacturer and USFA guidance.
- Remove the empty basket from the appliance-door and walking path.
- Check for a hose drip, blocked vent, unusual heat, new vibration, or longer drying time.
A room that resets at the end of each load does not need enough counter space to store several finished loads.
Frequently asked questions
Should I put a countertop over the washer and dryer?
Only when the exact machines, installation instructions, support method, vibration allowance, hookups, vent, controls, and service path permit it. A removable approved surface may be more practical than a fixed built-in. Never let a counter rest on equipment unless its instructions allow that use.
Where should air-dry clothes go in a small laundry room?
Use a load-rated rail or drying rack placed where wet textiles can dry without touching an appliance, heat source, wall, or walkway. Confirm the room’s ventilation and moisture conditions. A folding rack should have a designated storage spot after use.
What belongs on an open laundry shelf?
Only low-risk items used at that point in the workflow, such as empty baskets or clean mesh bags. Chemicals need secure original containers, and heavy items should not be stored where they can fall while someone reaches over an appliance.
Sources and editorial method
Every Inch Home created the workflow map, room comparison, and reset for this guide. Appliance-fire, electrical, lint, and laundry-packet boundaries were checked against current USFA and CPSC guidance. The exact washer, dryer, vent, electrical, plumbing, storage-hardware, and local-code instructions control every installation.