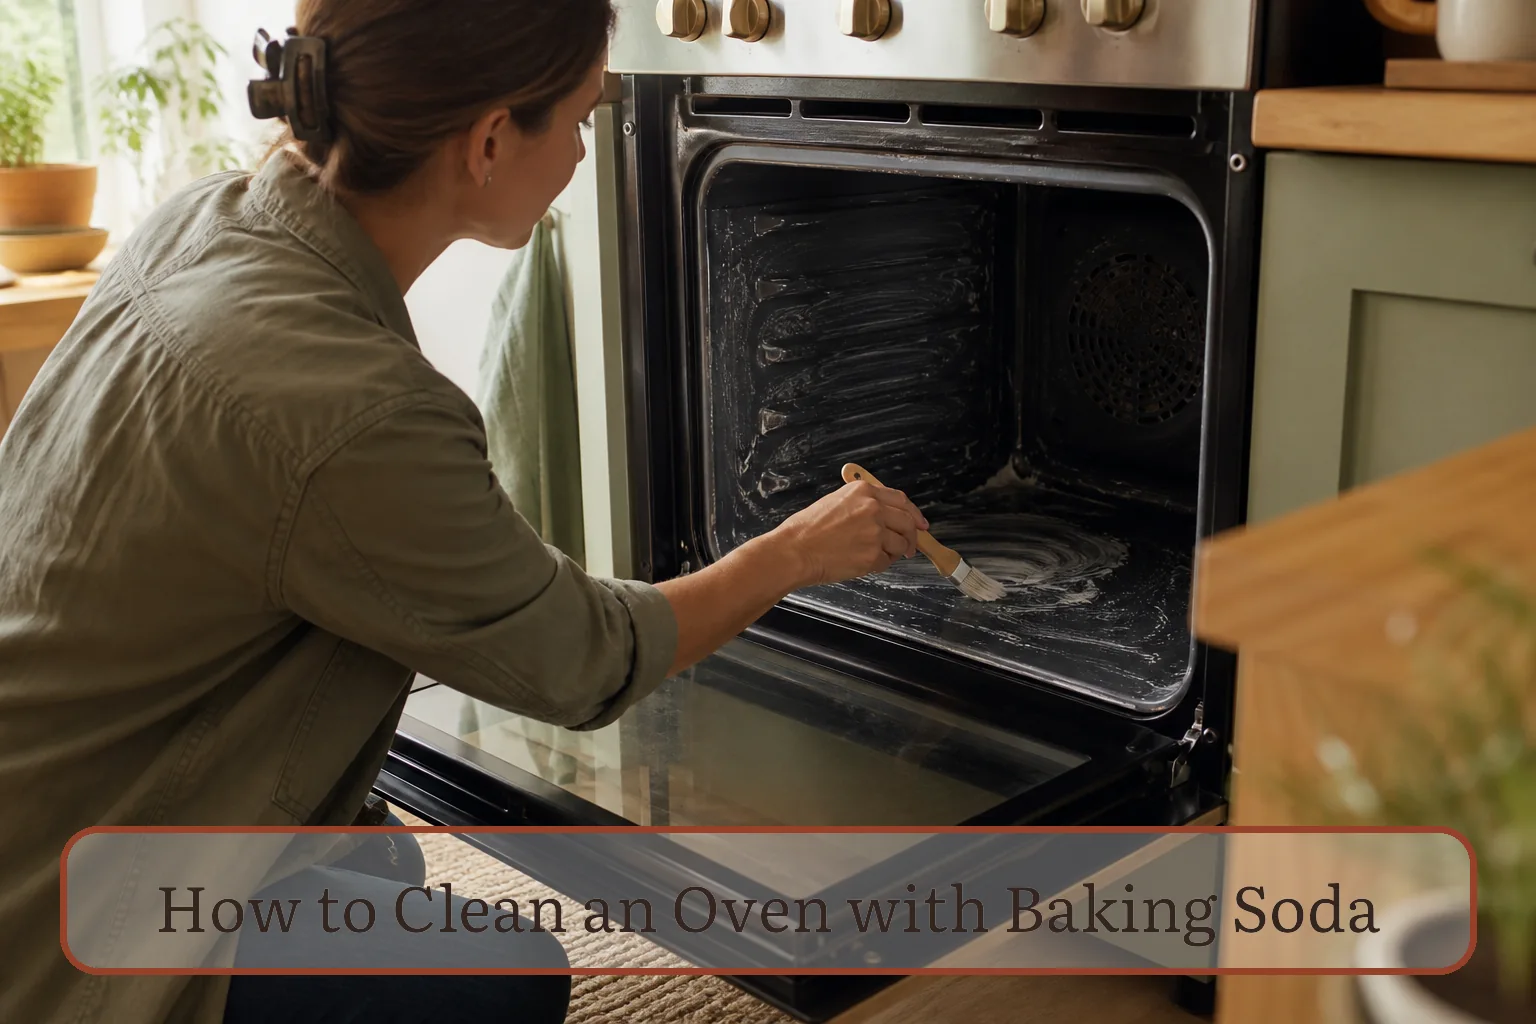
Check the cleaning system before making paste
Ovens can have manual-clean enamel, high-temperature self-cleaning liners, steam-clean or water-clean systems, catalytic panels, exposed or concealed elements, and different door-glass coatings. A method shown for one cavity is not automatically safe for another. Find the model number and read the cleaning section first. If it prohibits baking soda, calls for a specific cycle, or limits cleaners to certain surfaces, follow that instruction.
Do not run a self-clean or steam-clean cycle with baking-soda paste, foil, cookware, or cleaning tools inside. The temperatures and preparation steps are model-specific. If the door gasket is torn, the glass is cracked, a heating element is damaged, or there is a gas or electrical odor, stop and arrange the appropriate service instead of cleaning around the fault.
Oven surface compatibility map
| Area | Default decision | Reason for the boundary |
|---|---|---|
| Manual-clean enamel cavity | Use baking soda paste only when the care guide allows it; test a small area first | Finishes and approved abrasiveness vary by model |
| Interior door glass | Clean separately with the manual-approved method and a soft cloth or plastic scraper | Glass coatings and the route between panes require different care |
| Door gasket | Keep paste, scraping tools, and excess water off it | Rubbing, soaking, or bending can affect the seal |
| Heating elements, gas ports, igniter, fan, sensor, vents, and openings | Do not coat or flood them | Residue or moisture can obstruct or damage functional parts |
| Racks and rack guides | Remove and clean using their own care instructions | Soaking or abrasive products can damage some finishes or gliding mechanisms |
| Self-cleaning, steam-clean, or catalytic liner | Use only the method specified for that system | An ordinary paste routine can conflict with the designed cleaning process |
Gather a small, controlled kit
You need baking soda, water, a small bowl, gloves, soft cloths, a flexible silicone spatula or brush, and a plastic scraper if the manufacturer allows one. Put towels on the floor below the open door without covering an air intake. Keep children and pets out of the work area. Ventilate as directed by the appliance and product instructions.
Maytag’s current manual-cleaning method uses about one-half cup of baking soda with three tablespoons of water to create a spreadable paste. Treat that as a consistency reference, not a universal recipe: make only the small amount needed for the permitted surface, and follow your own model’s guide. Use water as the only mixing liquid for this bounded method. Never add bleach, oven cleaner, or another cleaning product to the bowl.
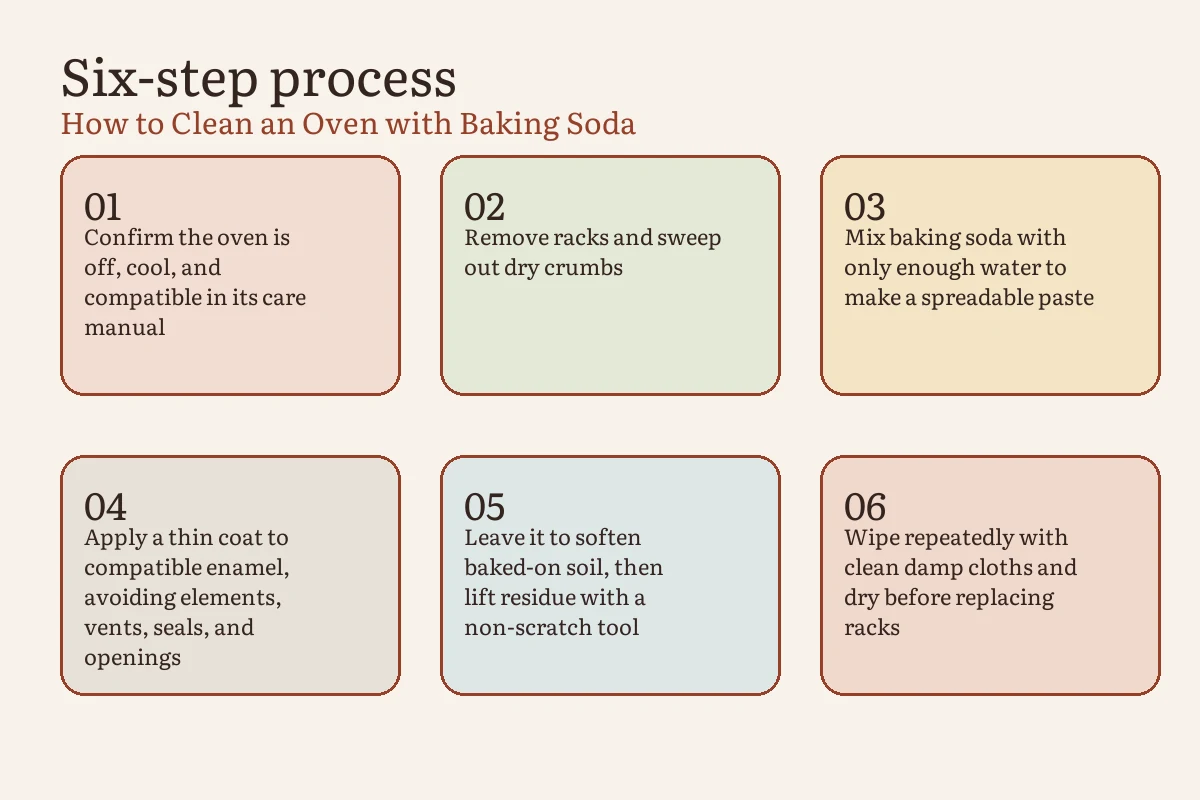
Apply the baking-soda method in seven steps
- Make the oven cold, empty, and inactive. Switch it off and wait until every interior surface is cool. Remove cookware, foil, thermometers, and racks that the manual says to remove. Never clean a warm element or try to defeat a locked door.
- Lift out dry debris. Use a soft brush or damp cloth to collect crumbs and loose char. Do not push fragments into slots, fan openings, or gas ports. A vacuum should be used only if the appliance instructions permit it.
- Map the no-paste areas. Identify the gasket, element or burner openings, igniter, temperature sensor, convection fan, light opening, and door slots. If a feature is unfamiliar, stop and look it up rather than coating it.
- Mix a spreadable paste. Add water gradually to baking soda until it will cling without running. A thin, dripping mixture is harder to control and more likely to enter an opening.
- Apply a thin layer to compatible soil. Use a flexible tool, not metal. Cover the stained enamel area without packing paste into seams. Leave it for the period allowed by the manufacturer; Maytag’s published method starts at 20 minutes and allows longer contact for heavier buildup.
- Lift, do not gouge. Loosen softened residue with a damp cloth or an approved plastic scraper. If a spot does not release, repeat a small application rather than increasing force or switching to steel wool.
- Rinse the surface by repeated wiping. Use clean damp cloths, changing the water as it clouds. Continue until the cloth and cavity show no white film or grit. Dry the cavity, inspect every opening, and replace only clean, fully dry racks.
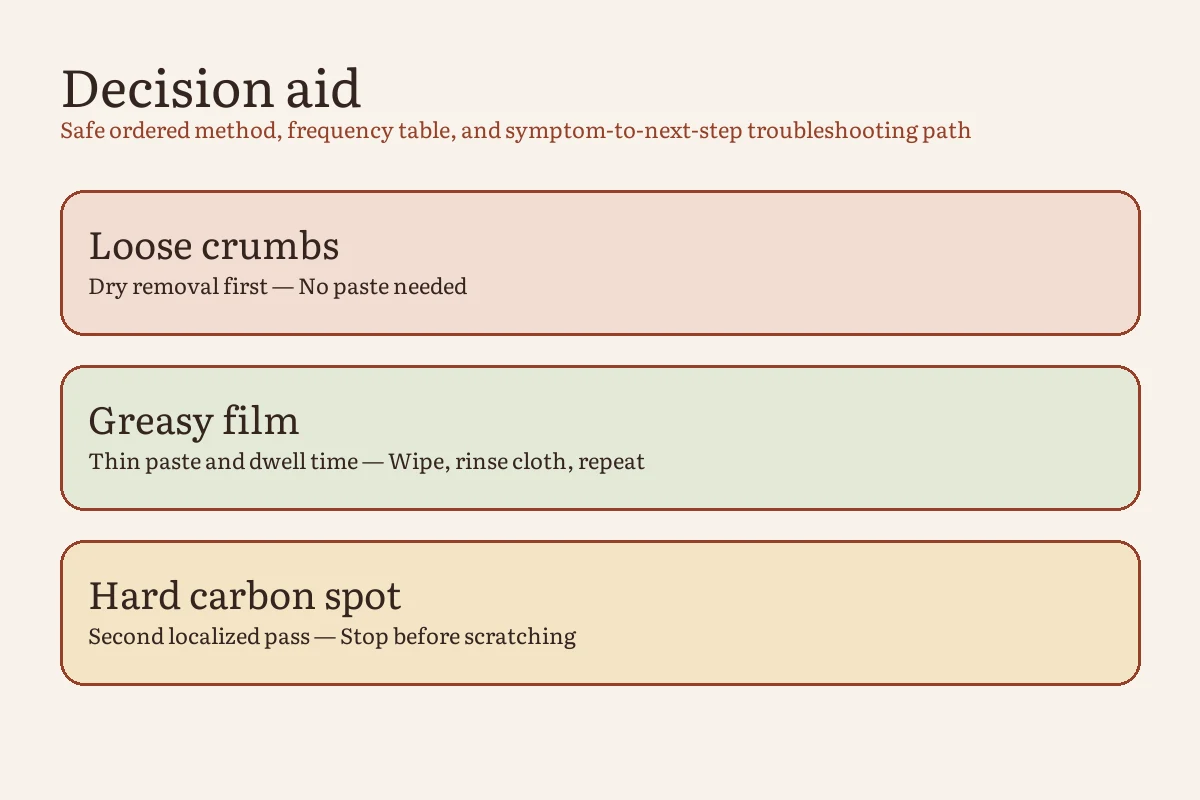
Match the treatment to the soil
| Condition | First response | Escalation | Do not do |
|---|---|---|---|
| Fresh spill after cooking | Wait for complete cooling, then blot or wipe using the care-guide method | Use a small paste patch only if compatible residue remains | Pour water into a hot cavity |
| Thin grease film | Start with a soft cloth and the mildest approved cleaner | Apply a brief, thin baking-soda paste where allowed | Cover elements, vents, or the gasket |
| Raised baked-on spot | Soften the spot with paste and time | Use an approved plastic scraper at a low angle | Use a razor or metal edge on enamel |
| Large carbonized spill that smokes | Remove loose material after cooling and check the manual’s heavy-soil method | Use the specified self-clean cycle or professional service if appropriate | Operate repeatedly while it continues to smoke |
| Stain between door-glass panes | Clean only the accessible surfaces | Arrange model-appropriate service or disassembly instructions | Push liquid through door vents or take the door apart without guidance |
Why a gritty white film remains—and how to remove it
Baking soda does not disappear when the grease loosens. Too much paste, dirty rinse water, or a textured cavity can leave white residue in corners. Use a fresh damp cloth for each pass and shine a light across the dry surface. A soft brush can lift dry powder from an accessible compatible seam, but never push it into a burner, fan, vent, or electrical opening.
Do not turn the oven on merely to “burn off” visible cleaner. Heat can turn leftover food and product into smoke or odor. When the cavity is clean, dry, correctly reassembled, and free of tools, operate it only as the manufacturer directs. Stop if smoke, sparking, a gas smell, an electrical odor, or an error appears.
Before the oven goes back into service
- No baking soda, loose char, cloth, scraper, foil, or rack-soaking residue remains inside.
- Heating elements, gas ports, fans, vents, sensors, lights, and door slots are clear and dry.
- The gasket is seated as it was and has not been scrubbed, soaked, pulled, or cut.
- Racks are clean, dry, and returned to the positions specified in the manual.
- The door closes normally, with no crack, new gap, error, leak, or unusual odor.
Frequently asked questions
Can baking soda damage an oven?
It can be inappropriate for a particular liner, coating, component, or cleaning system. Even an allowed mild abrasive can scratch when used with a harsh pad or excessive pressure. Check the model guide, keep it off functional parts and the gasket, and test a small compatible area.
Do I have to add vinegar to remove the paste?
No. This method uses clean damp cloths and repeated water changes, which also make it easier to see whether residue is gone. If a manufacturer specifically recommends another finishing step for your oven, follow that model-specific instruction and never combine it with bleach or another cleaner.
Can I clean between the oven-door glass panes?
Do not push liquid through vents or disassemble the door based on a generic tutorial. Maytag’s current guidance says cleaning between the glass requires appliance disassembly and does not recommend doing it without a licensed technician. Use your model’s service procedure.
Sources and editorial method
Every Inch Home created the surface map, soil decision table, and finish check for this guide. The paste consistency, contact-time range, gasket caution, and self-clean boundaries were checked against current manufacturer guidance. The manual for the exact oven remains the controlling source.