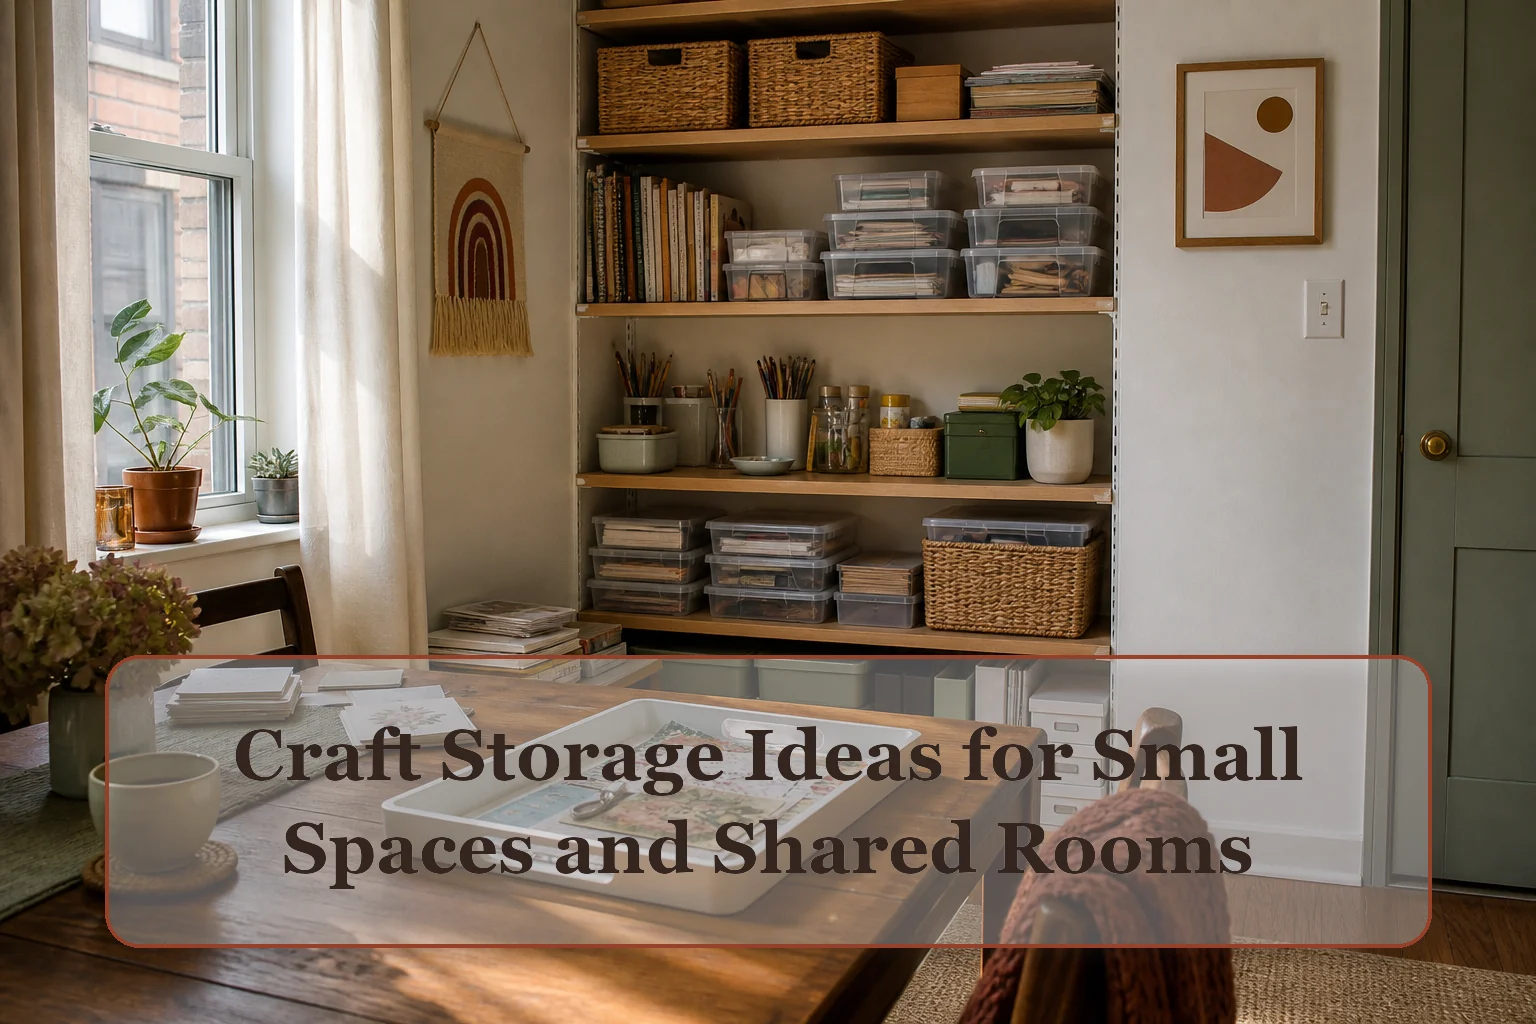
Use the tool: Work toward the active-project and backstock matrix; test it with the real items and route before expanding storage.
Sort by state before sorting by material
- Active project: Everything needed to resume one current project belongs together, including its pattern or notes. If a session ends, this unit should move off the shared table intact.
- Core tools: Scissors, rulers, needles, brushes, or cutters are durable tools. They need safe, direct access and should not be buried among consumables.
- Backstock and archive: Extra paper, yarn, paint, blanks, and finished pieces need separate capacity limits. They do not deserve the same prime access as current work.
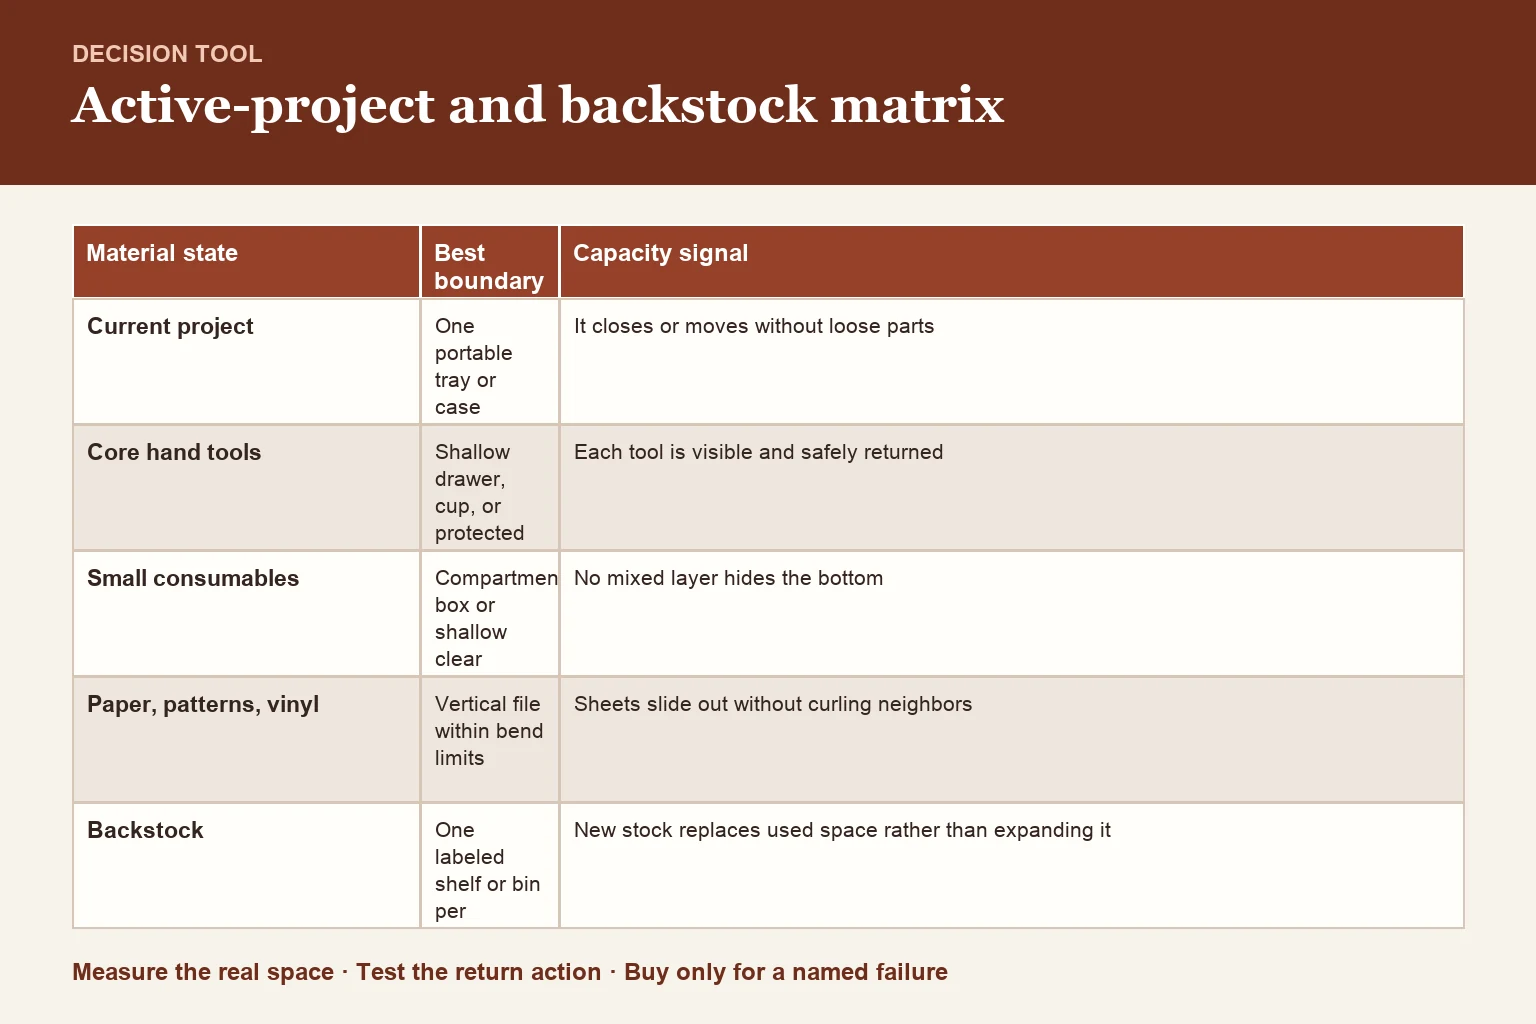
Set up a craft system that can pause cleanly
1. Inventory the active work
Choose the one or two projects that will realistically be touched this month. Gather each project's parts and remove unrelated materials from its footprint.
2. Build a portable project unit
Use a shallow tray, handled box, or zip pouch sized to the project. Include a small scrap envelope so fragments do not spread across the room.
3. Create a safe tool station
Store sharp or delicate tools with guards, closures, or vertical separation appropriate to the tool. Place them where setup does not require unpacking a backstock bin.
4. Divide materials by retrieval
Use shallow, visible groups for small items and vertical files for paper or patterns. Deep opaque tubs suit true backstock only when their contents are recorded.
5. Reserve a finished-work exit
Decide whether finished pieces will be used, gifted, sold, photographed, or recycled. Without an exit, completed work quietly becomes a new storage category.
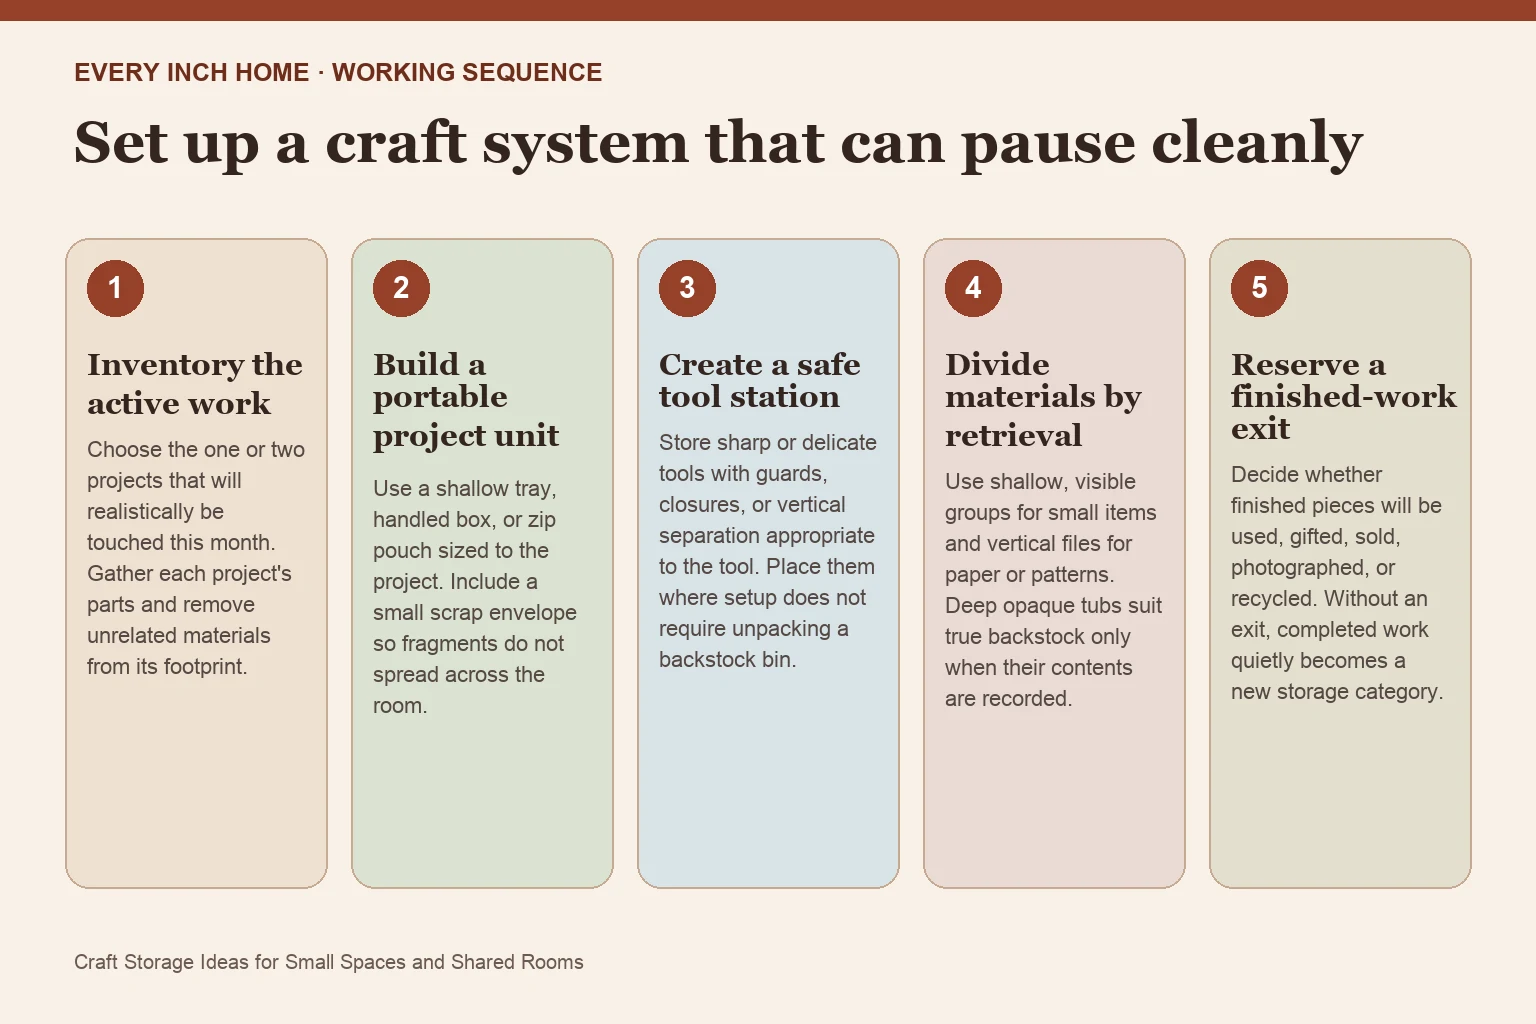
Active-project and backstock matrix
| Material state | Best boundary | Capacity signal |
|---|---|---|
| Current project | One portable tray or case | It closes or moves without loose parts |
| Core hand tools | Shallow drawer, cup, or protected roll | Each tool is visible and safely returned |
| Small consumables | Compartment box or shallow clear cases | No mixed layer hides the bottom |
| Paper, patterns, vinyl | Vertical file within bend limits | Sheets slide out without curling neighbors |
| Backstock | One labeled shelf or bin per material family | New stock replaces used space rather than expanding it |
Before buying a craft organizer
Measure the largest tool or sheet, the closed storage footprint, and the route from storage to work surface. Small compartments help only when the pieces already have meaningful categories. A beautiful cabinet that cannot move away from a shared table or hold the largest material will add friction, not capacity.
Use a project close-down card
At the end of a session, photograph the work, write the exact next step, return core tools, collect scraps, and place every active component in its project unit. This preserves context so you do not keep projects spread out merely to remember them. Review dormant project units monthly; reclaim one before starting another when the active limit is full.
Frequently asked questions
How do I store crafts in a living room?
Use portable active-project units that can leave the shared surface, and keep only safe, frequently used tools nearby. Backstock can live in a less visible zone.
Are clear containers best for craft supplies?
They help with small visual materials, but shape and retrieval matter more. Paper may need vertical support, fabric needs breathable capacity, and sharp tools need safe closures.
How many unfinished craft projects should I keep active?
Choose the number that fits your active-project shelf and available time. One or two visible projects are easier to resume than many mixed boxes.