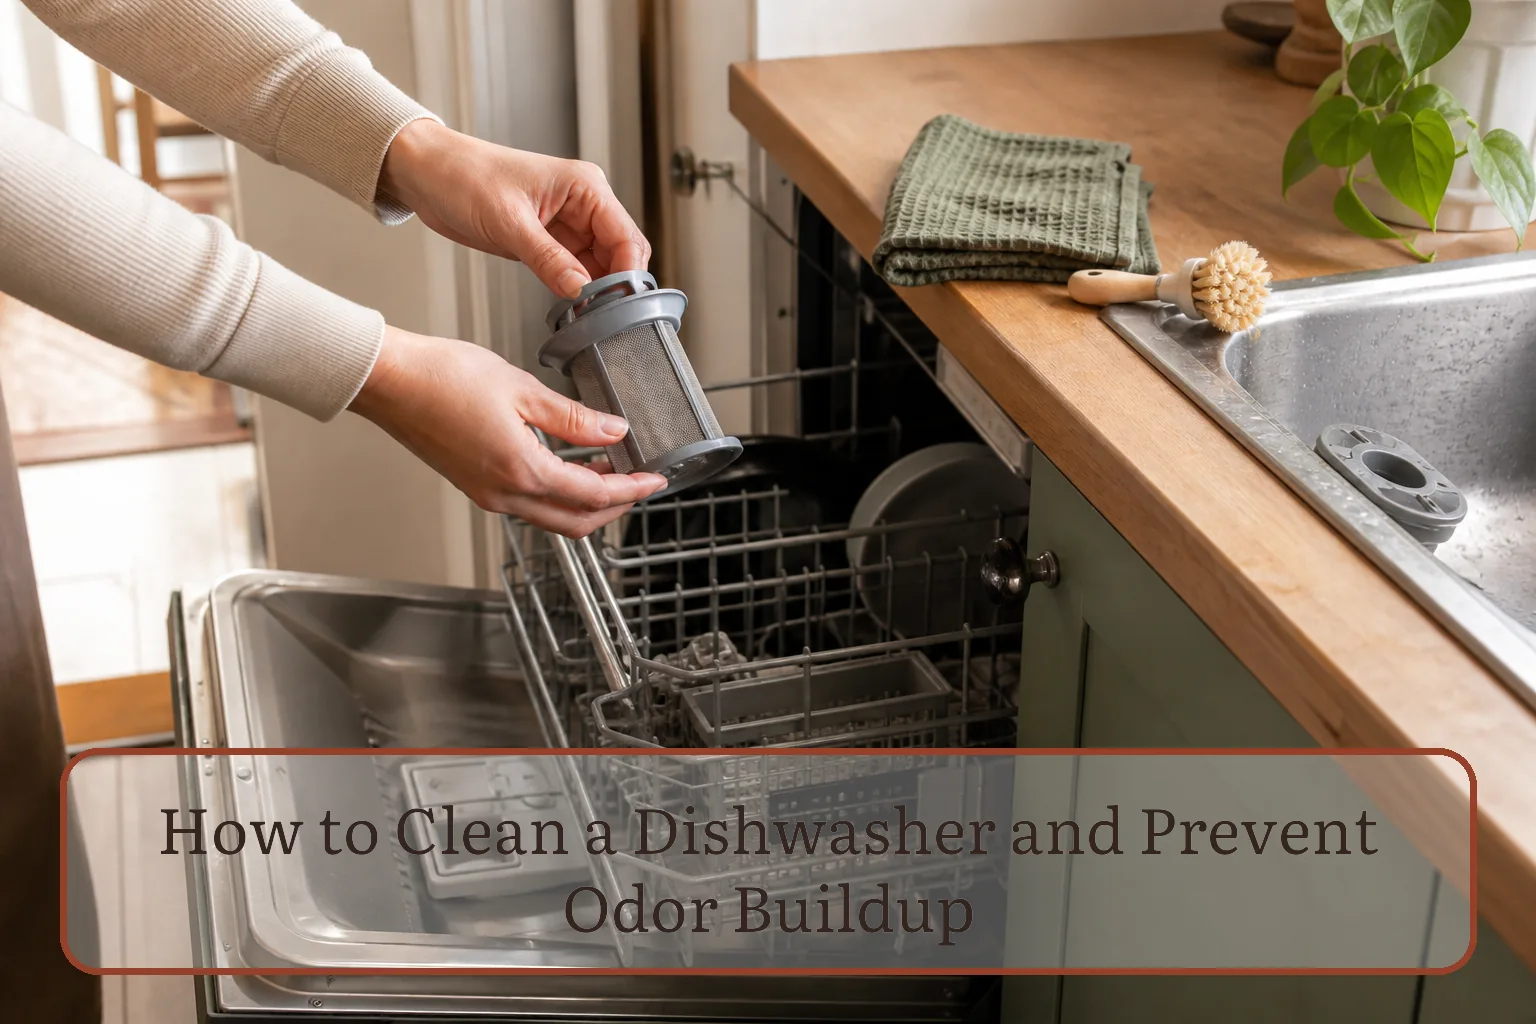
First identify where the odor is coming from
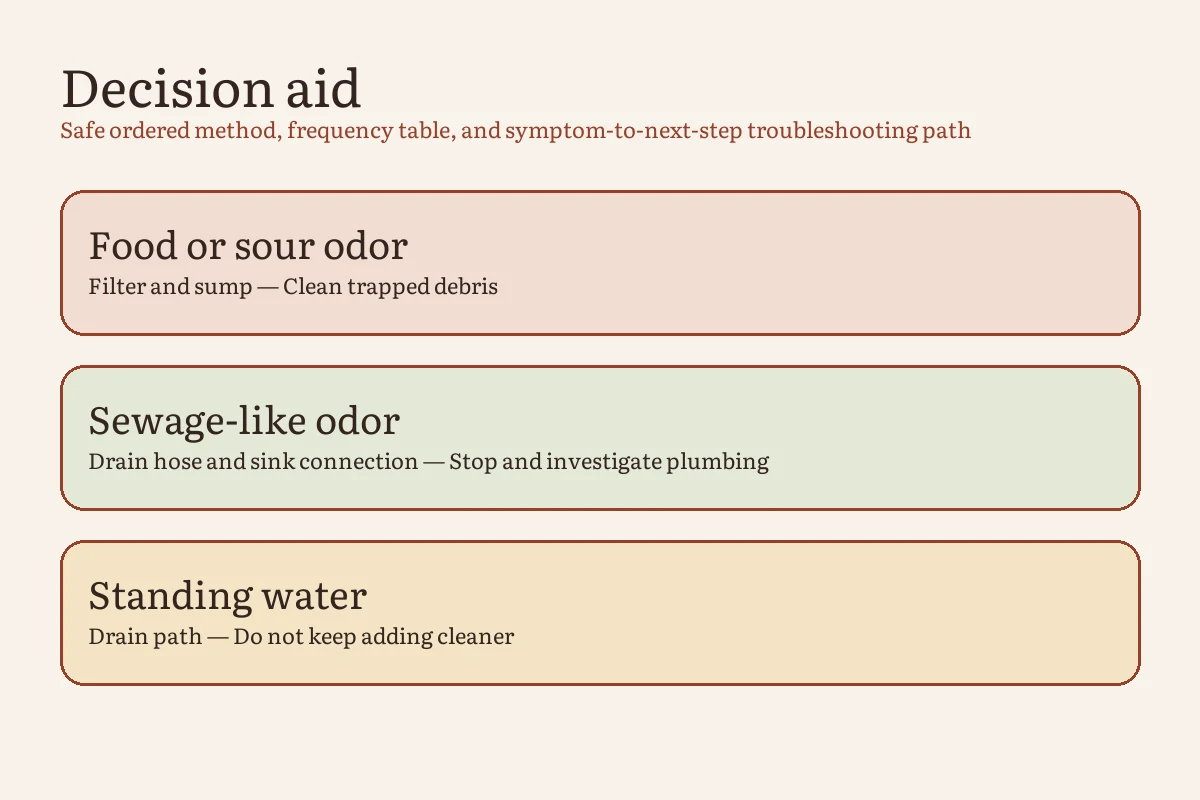
An unpleasant smell does not point to one universal remedy. Food can collect in a removable filter, along the lower door lip, under a gasket edge, or near a spray-arm opening. Water that remains after a completed cycle points to a drainage issue instead of a simple cleaning schedule. A sewage-like odor may also involve the sink drain, garbage disposal connection, drain hose, or plumbing rather than the dishwasher tub itself.
Dishwasher odor decision table
| What you notice | Check before adding cleaner | Next action | Stop point |
|---|---|---|---|
| Food or sour odor that grew gradually | Removable filter, sump edge, lower door lip, and gasket | Remove debris and wash only the parts the manual identifies as user-serviceable | Stop if you see broken glass, cannot unlock the filter, or a part is damaged |
| Odor plus visible water after the cycle | Whether the cycle finished, filter seating, sink/disposal connection, and drain guidance in the manual | Clean an accessible clogged filter; use the manufacturer’s no-drain troubleshooting | Stop if water remains, returns, leaks, or the pump makes an abnormal sound |
| Musty smell after clean dishes sit inside | Wet filter residue, gasket folds, and whether the interior can dry after unloading | Clean the identified residue and allow the empty tub to dry as the manual permits | Stop if there is persistent visible growth or an inaccessible contaminated area |
| Sewage-like odor, especially near the sink | Sink drain, disposal, air gap if fitted, and drain-hose installation | Follow the appliance and plumbing instructions or arrange qualified service | Do not pour drain opener into the dishwasher |
| Hot-plastic, burning, or electrical odor | Nothing inside the machine while it is operating | Stop the cycle and disconnect power only if it is safe to do so; arrange service | Do not run a cleaning cycle to test it |
Prepare without creating a chemical or cut hazard
Let the machine cool, empty it, and turn it off before reaching into the tub. Find the model number and read the care section of its manual; filter designs and approved cleaners vary. Put on gloves if the product label or debris calls for them. Use a flashlight around the filter area because clear glass can be hard to see. If you suspect broken glass, do not sweep the sump with an unprotected hand.
Use one cleaning product at a time and follow its label. CDC safety guidance says never to mix household bleach or disinfectants with other cleaners. Do not improvise a bleach, vinegar, baking-soda, drain-opener, or detergent combination. Some dishwasher interiors and components are incompatible with particular chemicals, so the appliance manual is the controlling instruction.
Clean the parts that trap residue
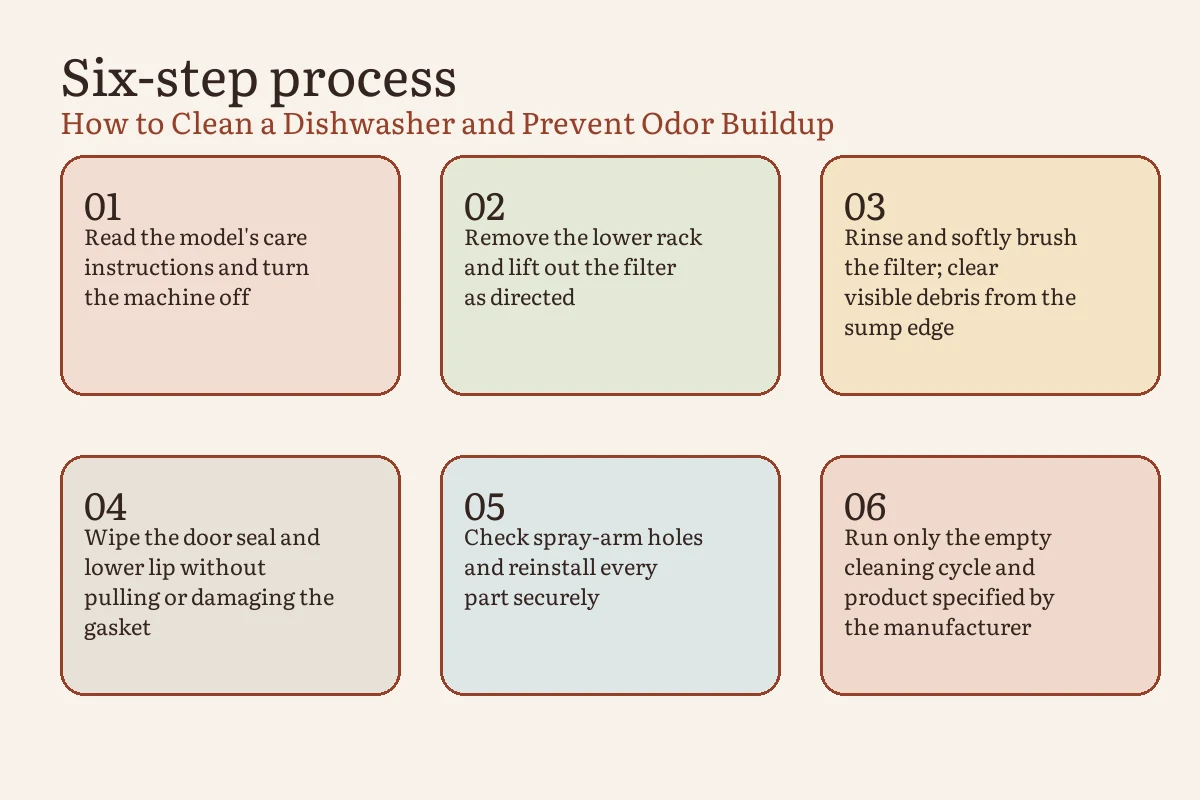
- Remove the lower rack and inspect before touching. Look for labels, seeds, bones, toothpicks, glass, or other foreign objects around the filter and sump. Carefully lift out only debris you can safely reach. Do not remove covers or reach into the pump unless the manual provides a user procedure.
- Unlock the filter exactly as shown for the model. Some machines have a two-piece removable filtration system; others use a self-cleaning or maintenance-free arrangement. Never force a part that does not match the diagram in the manual.
- Rinse and softly brush a removable filter. Whirlpool’s removable-filter guidance calls for running water and, when needed, a soft brush. It warns against wire brushes and scouring pads that can damage the filter. Avoid bending the mesh.
- Wipe the door lip and gasket gently. Food and greasy residue can remain below the area reached by the spray. Use the cloth and compatible mild cleaner specified by the manufacturer. Wipe around the gasket without pulling it from its channel.
- Inspect spray-arm openings. Rotate the arms by hand only if the manual permits. Clear accessible buildup using the maker’s directions; do not enlarge holes with a metal tool. Confirm that a utensil or tall pan will not block rotation after reloading.
- Reinstall and lock every filter component. Seat the lower piece flat and lock the upper assembly in the stated direction. Do not operate a dishwasher with a required filter missing or loose; incorrectly installed filtration can allow debris to recirculate or reach the pump.
- Run the approved empty cycle. If the manual calls for a machine-cleaning cycle or a named type of dishwasher cleaner, use the specified amount in the specified location. One correctly used product is enough. When the cycle ends, check that the tub drained and that no new leak or sound appeared.
Use condition-based maintenance, not one schedule for every machine
A household that scrapes plates, runs full loads daily, and has a removable manual-clean filter may need a different routine from a light-use home with a self-cleaning system. Start with the manufacturer’s interval. Between manual checks, use the conditions below to decide whether to act sooner.
| Trigger | Small maintenance action | What it can tell you |
|---|---|---|
| Visible food on a removable filter | Rinse and softly brush it, then lock it back in place | The current inspection interval is too long for your loading habits |
| Dishes feel gritty after a completed cycle | Check filter seating, spray-arm movement, loading, and detergent guidance | Residue may be recirculating or water flow may be obstructed |
| Grease appears on the lower door lip | Wipe the lip and gasket with a compatible method | This unsprayed edge needs a separate quick clean |
| The tub smells only after being closed while damp | Unload promptly and let the empty interior dry if the manual permits | Drying practice, rather than more cleaner, may be the missing step |
| Odor returns after one complete cleaning | Recheck drainage and arrange service if the source is not user-accessible | The cause is not ordinary removable residue |
What to do when the dishwasher does not drain
Confirm that the cycle was not interrupted and look for an error code. Follow the model’s troubleshooting instructions for the filter, garbage-disposal connection, air gap, and drain hose. Whirlpool’s current no-drain guidance specifically warns against using drain-opening chemicals in the dishwasher because they can damage components and create hazards.
If a cleaned, correctly seated filter does not restore drainage, or if water comes back into the tub, stop repeating cycles. A kinked or incorrectly installed hose, blocked connection, failed pump, or plumbing problem needs the appropriate appliance or plumbing diagnosis. Switch off the water or power only when the manual calls for it and you can do so safely.
The finish check
- The filter is flat, locked, and does not turn freely when the manual says it should lock.
- Both spray arms move without hitting a rack, utensil, or tall dish.
- No cloth, brush, glass, label, or loose debris remains in the tub.
- The cleaning product has been removed or used exactly as its label directs.
- The completed test or cleaning cycle drains without a leak, error, or abnormal sound.
Frequently asked questions
Can I use bleach in a dishwasher with a stainless-steel interior?
Do not assume bleach is compatible. Use only a product and method explicitly allowed by the dishwasher manufacturer. Never combine bleach with another cleaner or disinfectant.
How often should I clean the dishwasher filter?
Follow the interval and method in the manual for your filter type. Inspect sooner when you see residue, notice gritty dishes, or detect a food odor. A maintenance-free filtration system should not be dismantled simply because another brand’s guide shows a removable filter.
Is a little water in the bottom normal?
Some models retain a small amount in a sump that may not be visible during normal use, but water covering the tub floor after a completed cycle or water that returns needs model-specific troubleshooting. If the manual’s accessible checks do not resolve it, arrange service rather than repeatedly running cleaner.
Sources and editorial method
Every Inch Home created the odor decision table, condition-based maintenance table, and finish check for this guide. Appliance steps were checked against current manufacturer instructions; chemical-mixing cautions were checked against CDC guidance. Model-specific care instructions always take priority. The illustrations show the process and are not evidence that a particular appliance was tested.