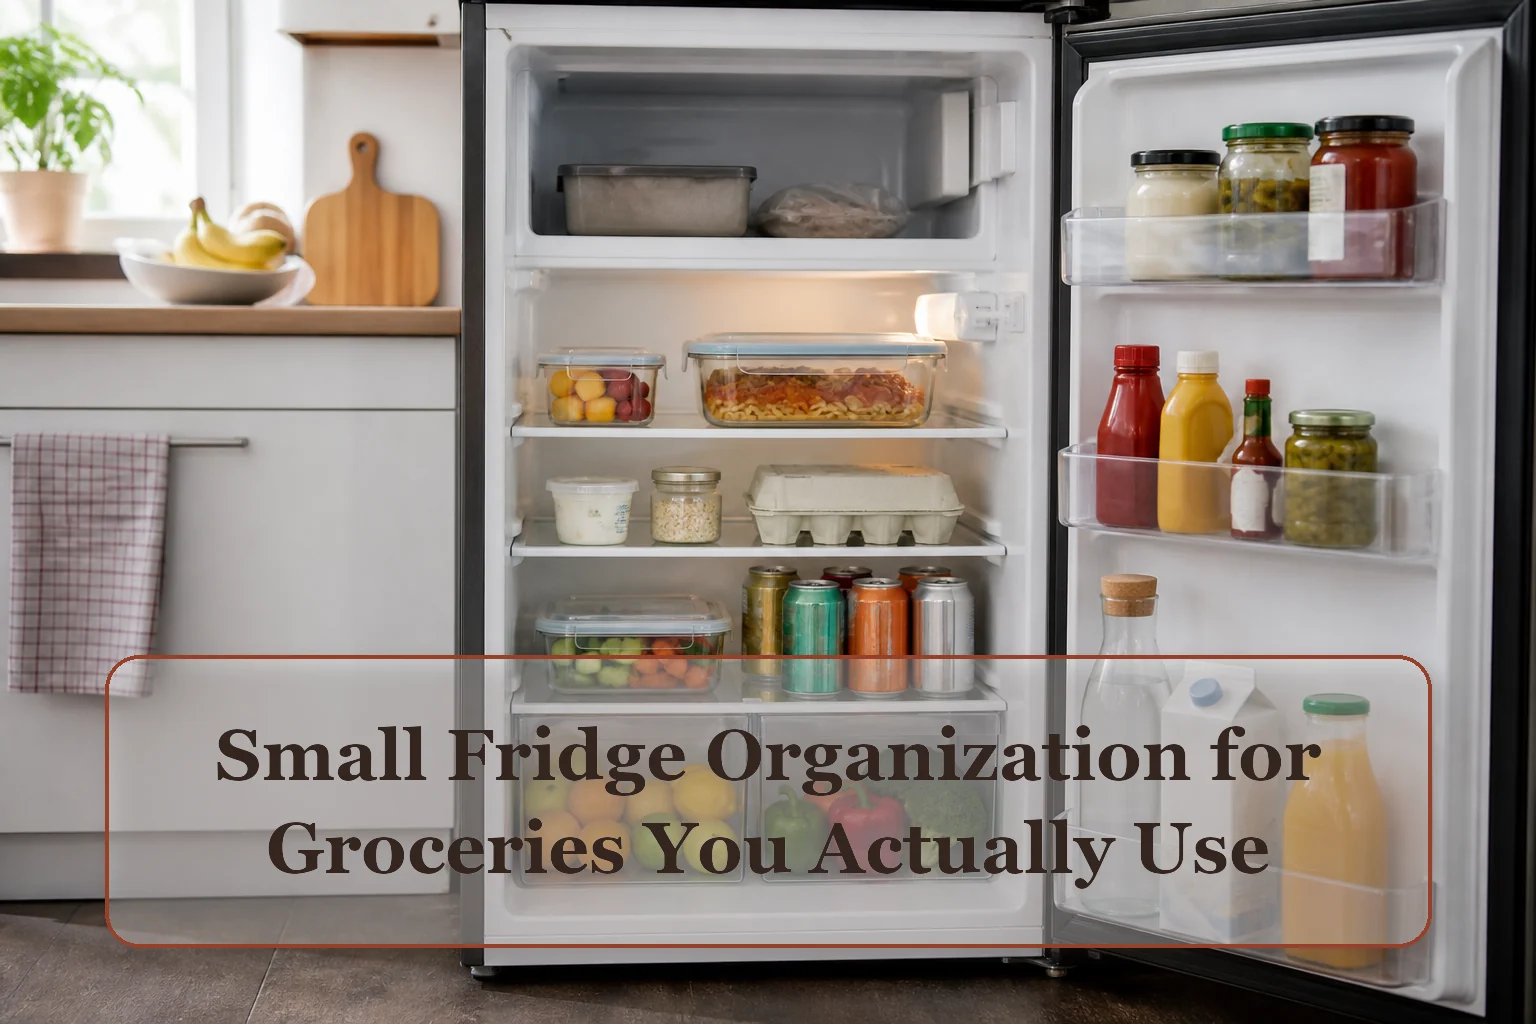
Use the tool: Work toward the shelf-height and reset map; test it with the real items and route before expanding storage.
Map temperature, height, and turnover
- Appliance guidance: Read the refrigerator manual for vent locations, shelf positions, drawers, cleaning, and safe loading. Do not treat every shelf as interchangeable.
- Shelf-height inventory: Measure the height of your common containers, pitchers, jars, and egg carton. Repeatedly moving a shelf is evidence that one category needs a stable home.
- Turnover: Identify foods used within days, weekly staples, and slower condiments. Access should follow time sensitivity and household habits.
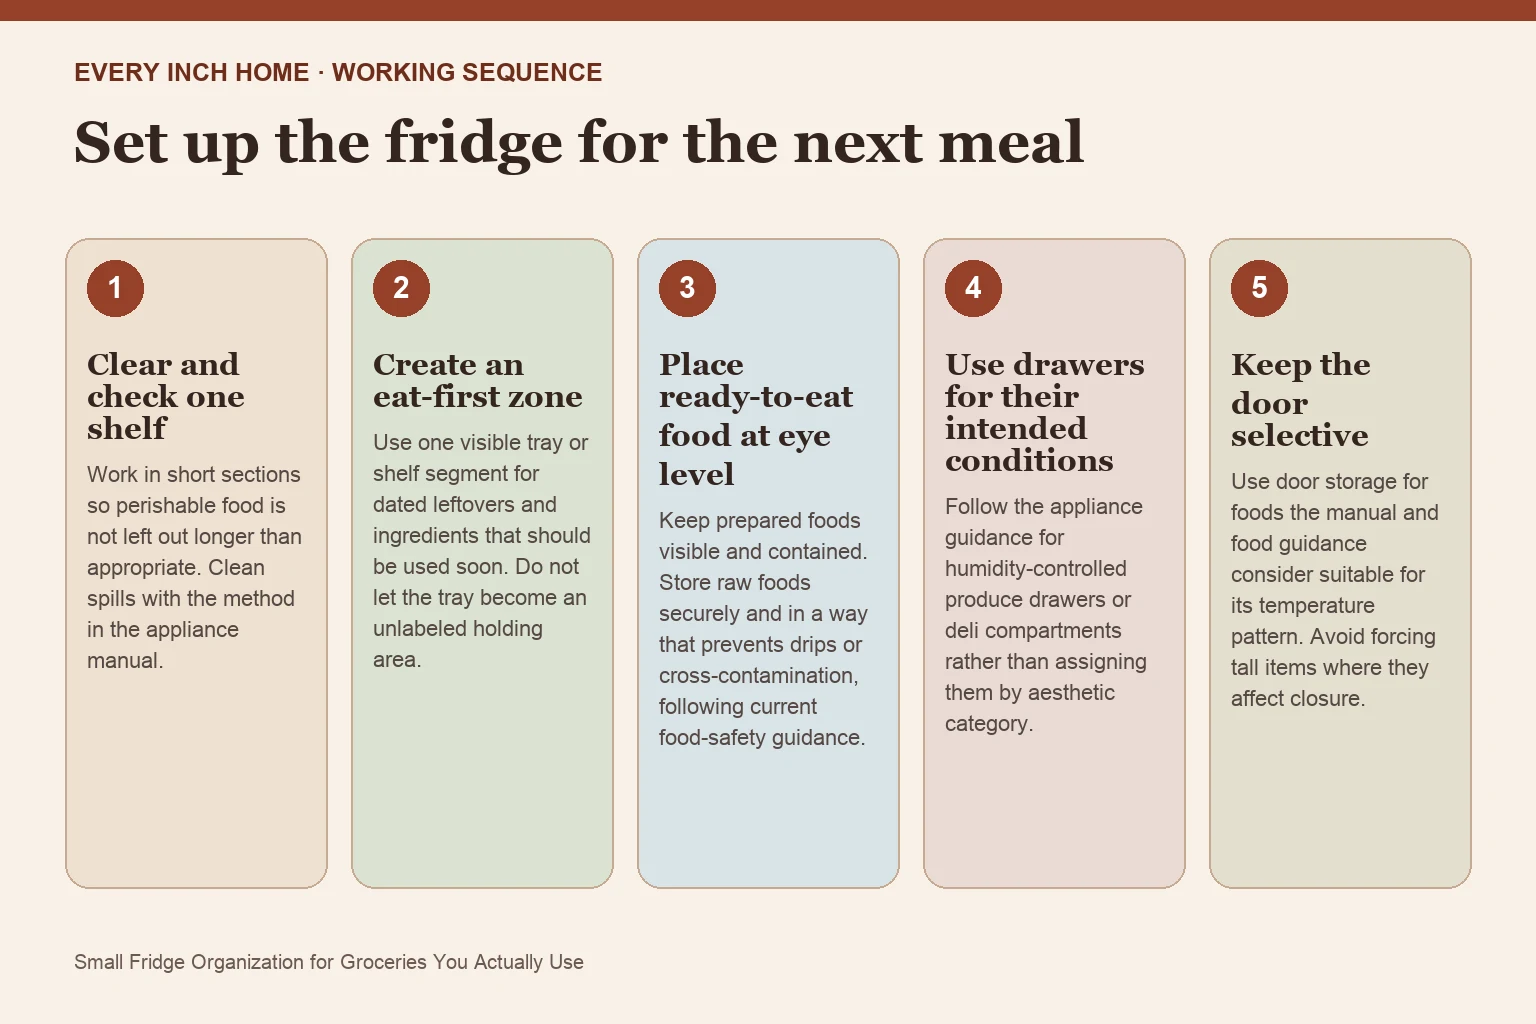
Set up the fridge for the next meal
1. Clear and check one shelf
Work in short sections so perishable food is not left out longer than appropriate. Clean spills with the method in the appliance manual.
2. Create an eat-first zone
Use one visible tray or shelf segment for dated leftovers and ingredients that should be used soon. Do not let the tray become an unlabeled holding area.
3. Place ready-to-eat food at eye level
Keep prepared foods visible and contained. Store raw foods securely and in a way that prevents drips or cross-contamination, following current food-safety guidance.
4. Use drawers for their intended conditions
Follow the appliance guidance for humidity-controlled produce drawers or deli compartments rather than assigning them by aesthetic category.
5. Keep the door selective
Use door storage for foods the manual and food guidance consider suitable for its temperature pattern. Avoid forcing tall items where they affect closure.
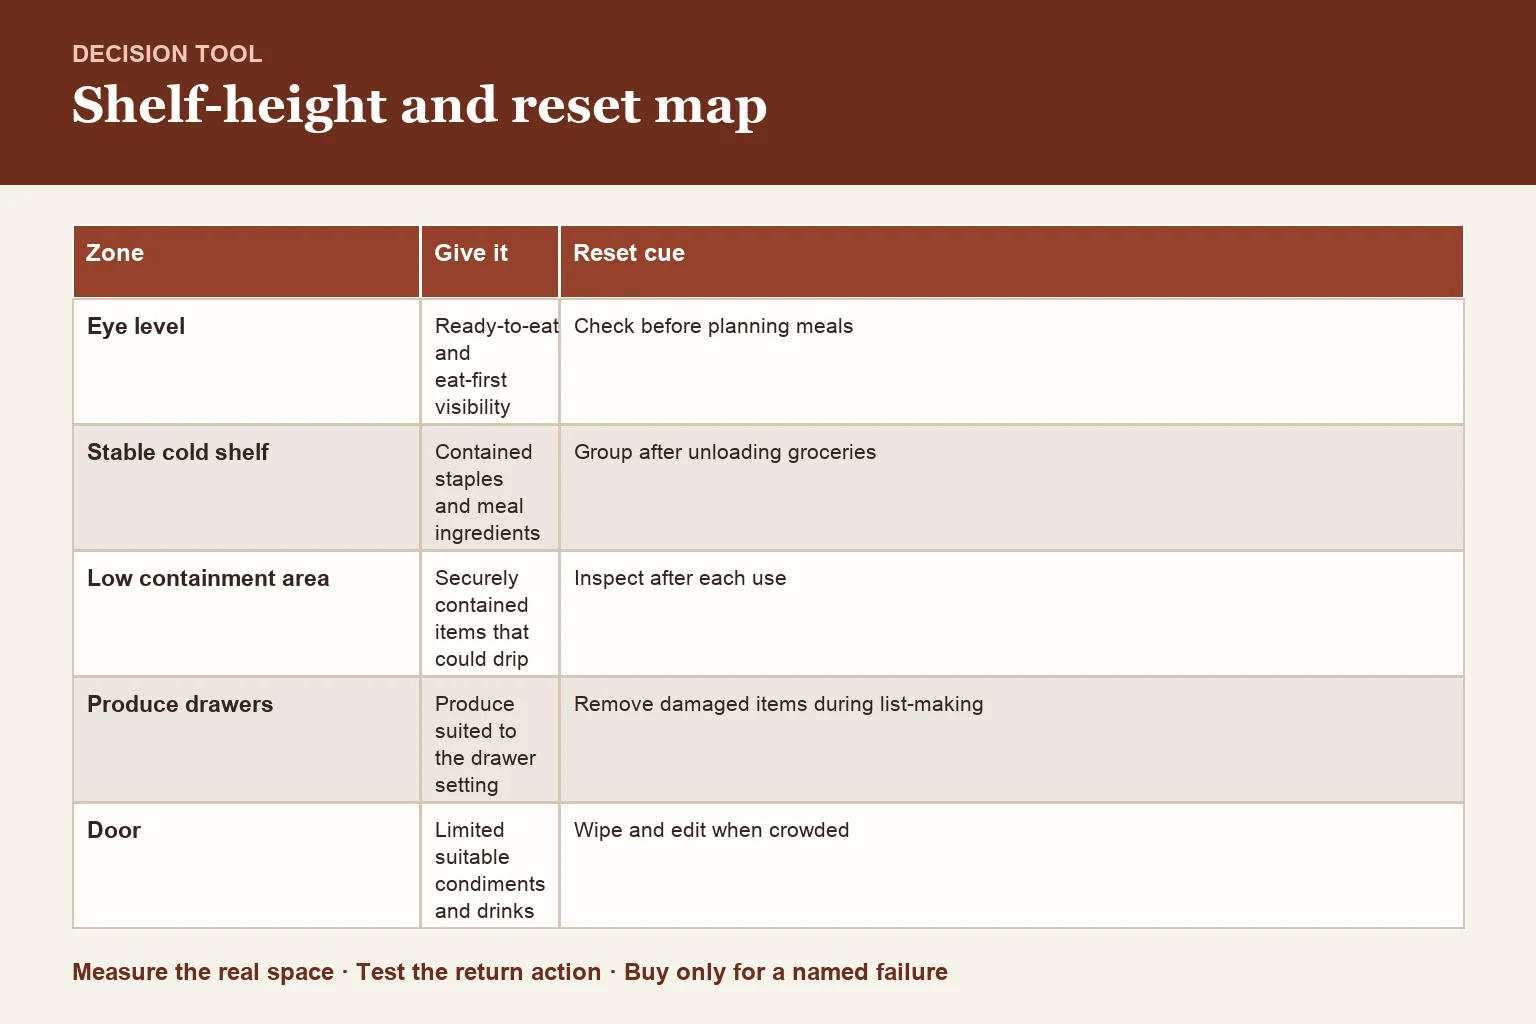
Shelf-height and reset map
| Zone | Give it | Reset cue |
|---|---|---|
| Eye level | Ready-to-eat and eat-first visibility | Check before planning meals |
| Stable cold shelf | Contained staples and meal ingredients | Group after unloading groceries |
| Low containment area | Securely contained items that could drip | Inspect after each use |
| Produce drawers | Produce suited to the drawer setting | Remove damaged items during list-making |
| Door | Limited suitable condiments and drinks | Wipe and edit when crowded |
Use organizers only when they improve the food route
A clear handled bin can group a meal or keep small jars from disappearing, but it should not block airflow, hide dates, add a hard-to-clean layer, or make a shelf too heavy. Verify that a product is suitable for refrigerator use and measure shelf depth, lip, door clearance, and handle space before buying.
Run the pre-shopping fridge check
Before writing the grocery list, review the eat-first zone, plan meals around usable leftovers, inspect produce, discard food according to current safety guidance, wipe fresh spills, and note true gaps. Use the USDA's <a href="https://www.foodsafety.gov/food-safety-charts/cold-food-storage-charts">cold food storage charts</a> for current storage-time guidance rather than relying on appearance alone.
Frequently asked questions
How do I organize a very small refrigerator?
Reserve one visible eat-first area, keep ready-to-eat food easy to see, use drawers as designed, and avoid bins that block airflow or consume more space than they save.
Where should leftovers go in the fridge?
Use a consistent, visible shelf or tray, store them promptly in suitable containers, and date them so the household can follow current food-safety guidance.
Should I use bins in a small fridge?
Use a small number only when they group a real meal or category and remain easy to clean, lift, and see through without blocking vents.