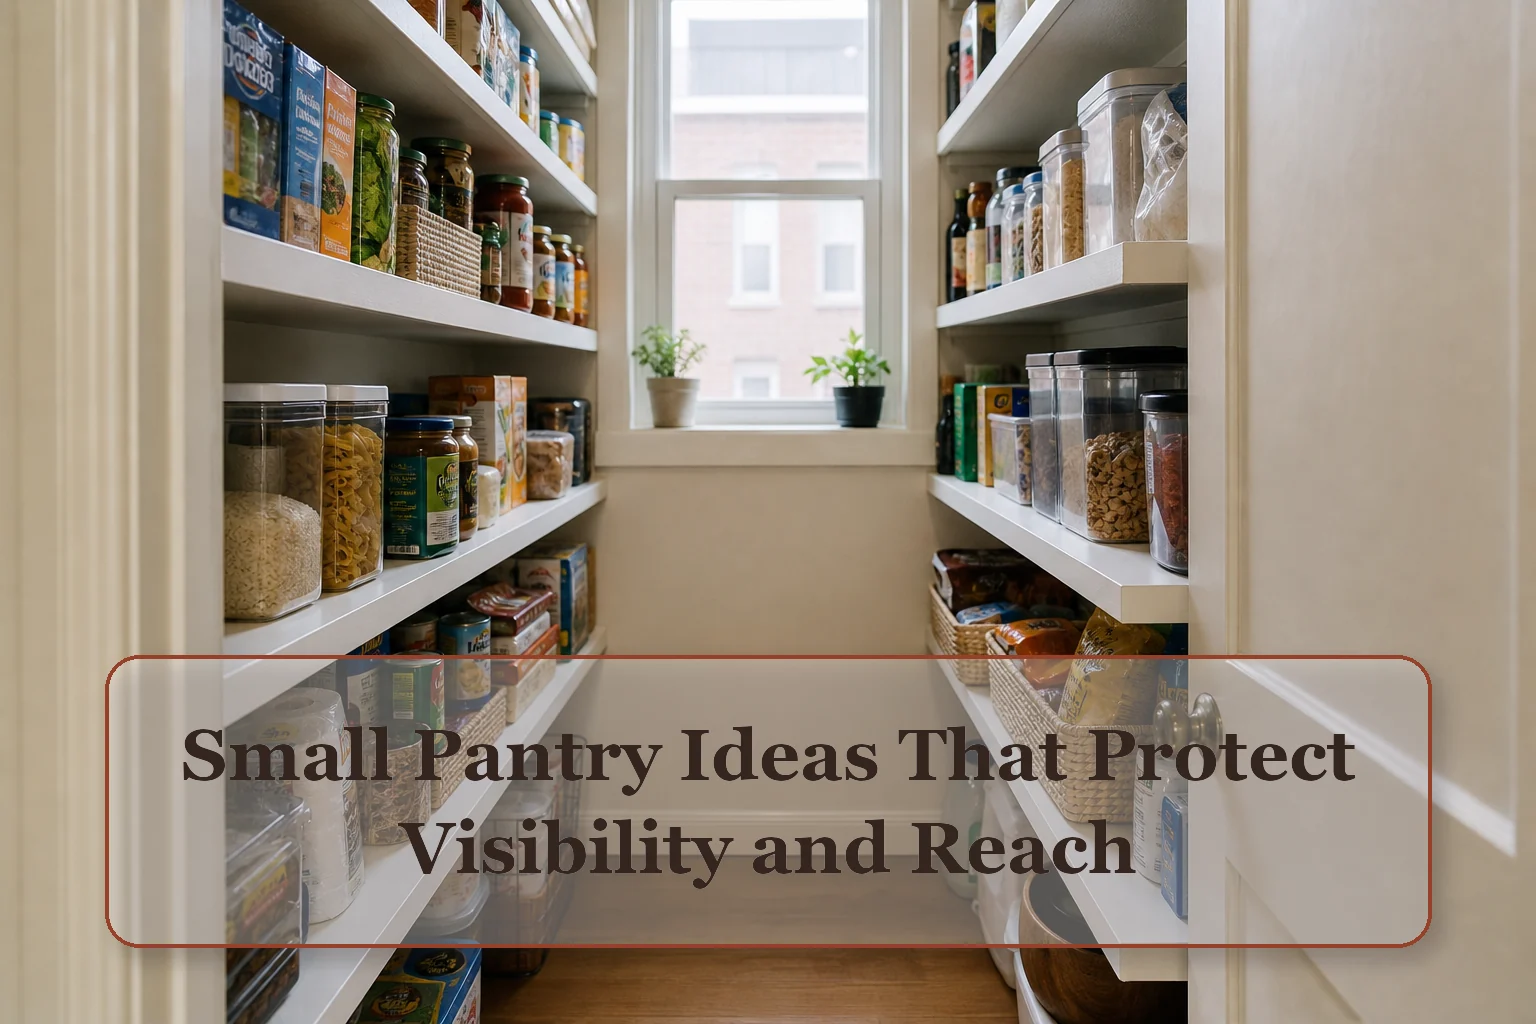
Use the tool: Work toward the shelf-depth, visibility, and replenishment map; test it with the real items and route before expanding storage.
Measure the pantry you actually have
- Usable depth: Measure from the front edge to the back without counting door hardware or space needed to grip and lift a container.
- Sight line: Stand where you normally choose food. Note which shelves hide labels, create double rows, or sit above a comfortable viewing angle.
- Replenishment pattern: Identify what arrives weekly, monthly, and only for specific recipes. Shelf priority should follow use, not package height alone.
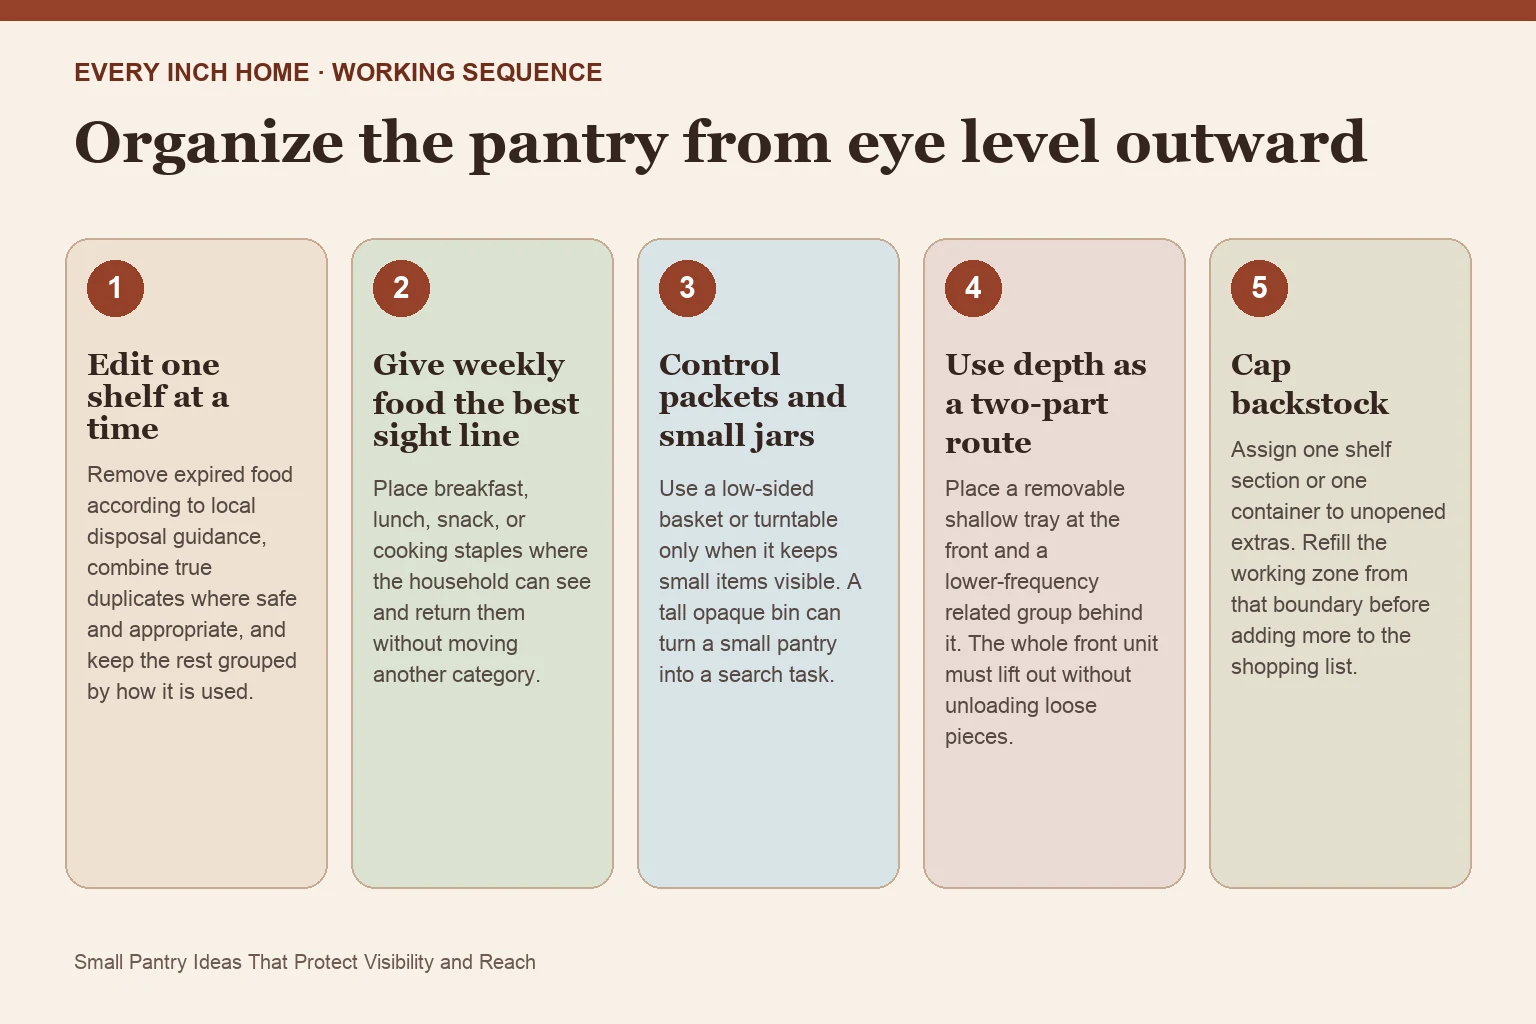
Organize the pantry from eye level outward
1. Edit one shelf at a time
Remove expired food according to local disposal guidance, combine true duplicates where safe and appropriate, and keep the rest grouped by how it is used.
2. Give weekly food the best sight line
Place breakfast, lunch, snack, or cooking staples where the household can see and return them without moving another category.
3. Control packets and small jars
Use a low-sided basket or turntable only when it keeps small items visible. A tall opaque bin can turn a small pantry into a search task.
4. Use depth as a two-part route
Place a removable shallow tray at the front and a lower-frequency related group behind it. The whole front unit must lift out without unloading loose pieces.
5. Cap backstock
Assign one shelf section or one container to unopened extras. Refill the working zone from that boundary before adding more to the shopping list.
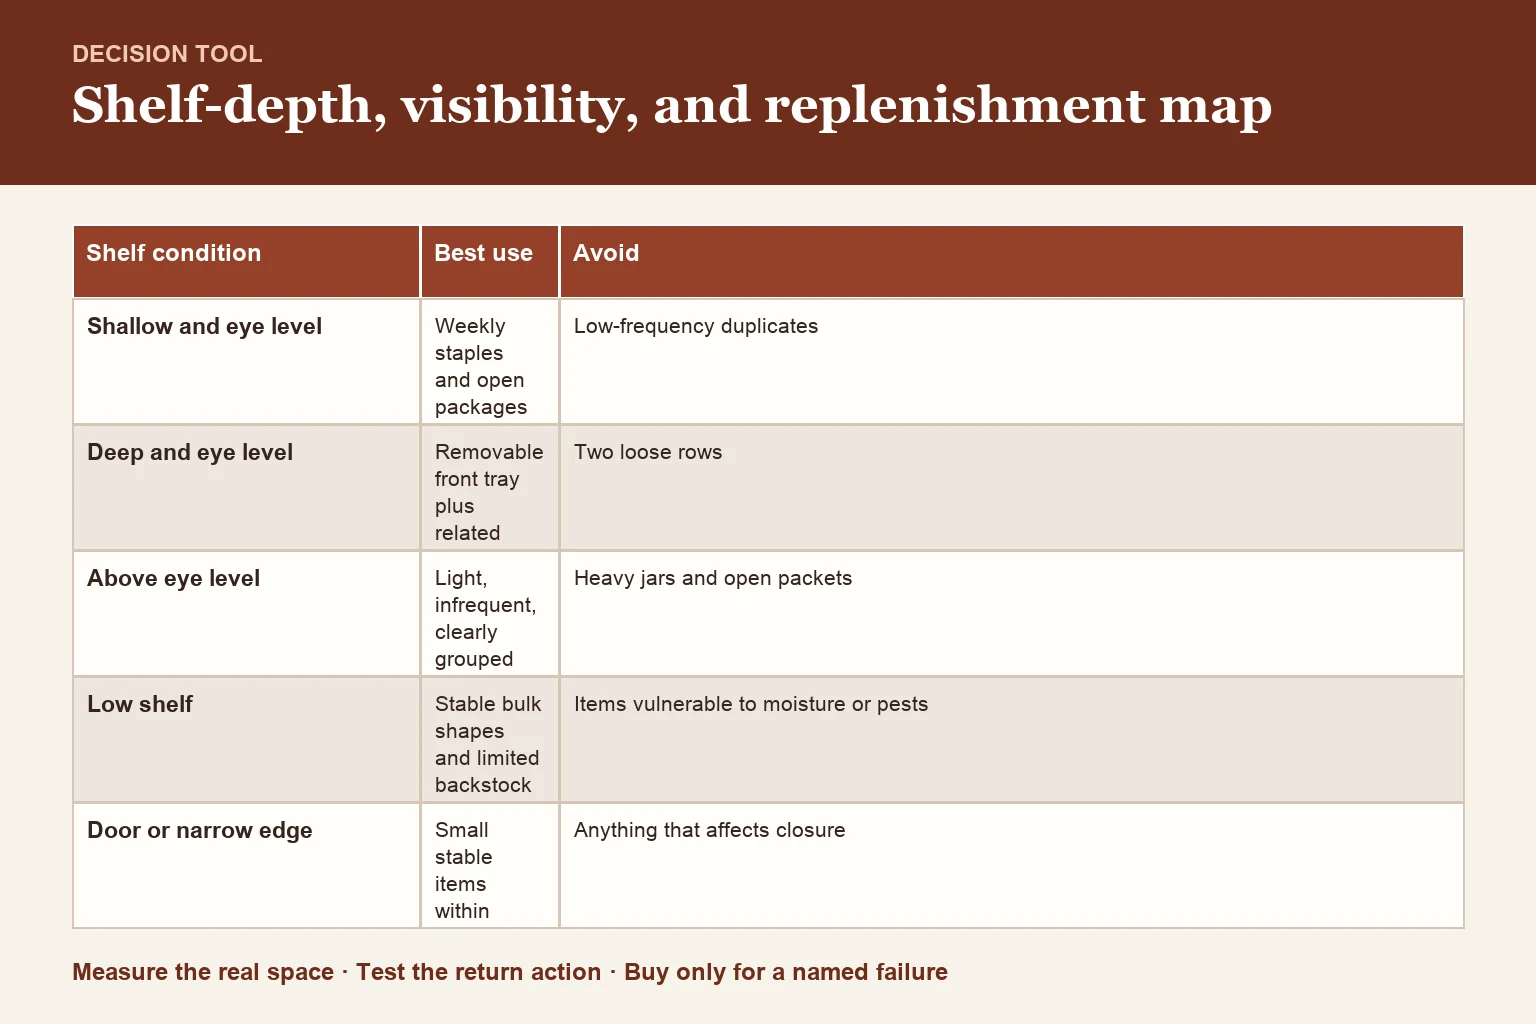
Shelf-depth, visibility, and replenishment map
| Shelf condition | Best use | Avoid |
|---|---|---|
| Shallow and eye level | Weekly staples and open packages | Low-frequency duplicates |
| Deep and eye level | Removable front tray plus related back group | Two loose rows |
| Above eye level | Light, infrequent, clearly grouped food | Heavy jars and open packets |
| Low shelf | Stable bulk shapes and limited backstock | Items vulnerable to moisture or pests |
| Door or narrow edge | Small stable items within hardware limits | Anything that affects closure |
A pantry product has to improve retrieval
Do not buy a riser, turntable, bin, or dispenser because it fits a pantry photograph. Test it against the shelf’s exact width and depth, the largest item in the group, the grip clearance above, and how the household will replenish it. The product should reveal inventory or move a related group as one unit.
Use a five-minute pre-shopping scan
Before making the grocery list, pull the front trays once, move soon-to-expire foods into an eat-first area, refill working staples from backstock, and record only the gap. This is the pantry's real reset. If it routinely takes longer than five minutes, reduce the number of categories or remove a layer of containment.
Frequently asked questions
How do I organize a very small pantry?
Keep weekly food in the clearest reach, contain only small unstable items, and use a fixed limit for backstock. Organize one shelf at a time.
What should go on the top pantry shelf?
Use it for lightweight, lower-frequency items that can be retrieved safely. Avoid heavy glass and anything opened frequently.
Are pantry labels necessary?
They help when a container hides original identification or several people return items. Preserve food identity, ingredient, allergen, date, and preparation information when decanting.